Do you know how to change the settings of your Netgear Nighthawk Router? If not, what are you even doing with your router? Well, the router plays the most important role in offering you stronger WiFi networks. However, it has so much more potential than you can imagine. To avail of all these offers, you need to do the Netgear Nighthawk router login.
Keeping that in mind, this article is going to offer you the best tips to do the Netgear Nighthawk router login. So, without wasting a single second, you should get through the following points. Keep reading to increase your knowledge so that you can resolve issues in future.
How to Do Nighthawk Router Login?
PC Preparation
To do the Netgear Nighthawk router login, you need to have access to the internet. That is where you need to use a computer. It should be working efficiently. So, make sure the PC is getting a consistent and stable power supply from a power outlet.
Moreover, you need to ensure that the computer’s power cable is strong and in perfect health. Otherwise, it could lead to a short circuit or an unstable power supply.
Access Power Outlet
Having the power outlet at the right place is going to save your time and effort. Therefore, you should have at least 3 working power outlets closer to each other. That is where you are going to plugin your computer, router, and modem.
In case they are not closer to each other, connecting the router to the modem might take longer. Moreover, the connection might not be that strong in case the devices are placed away from each other.
Router Preparation
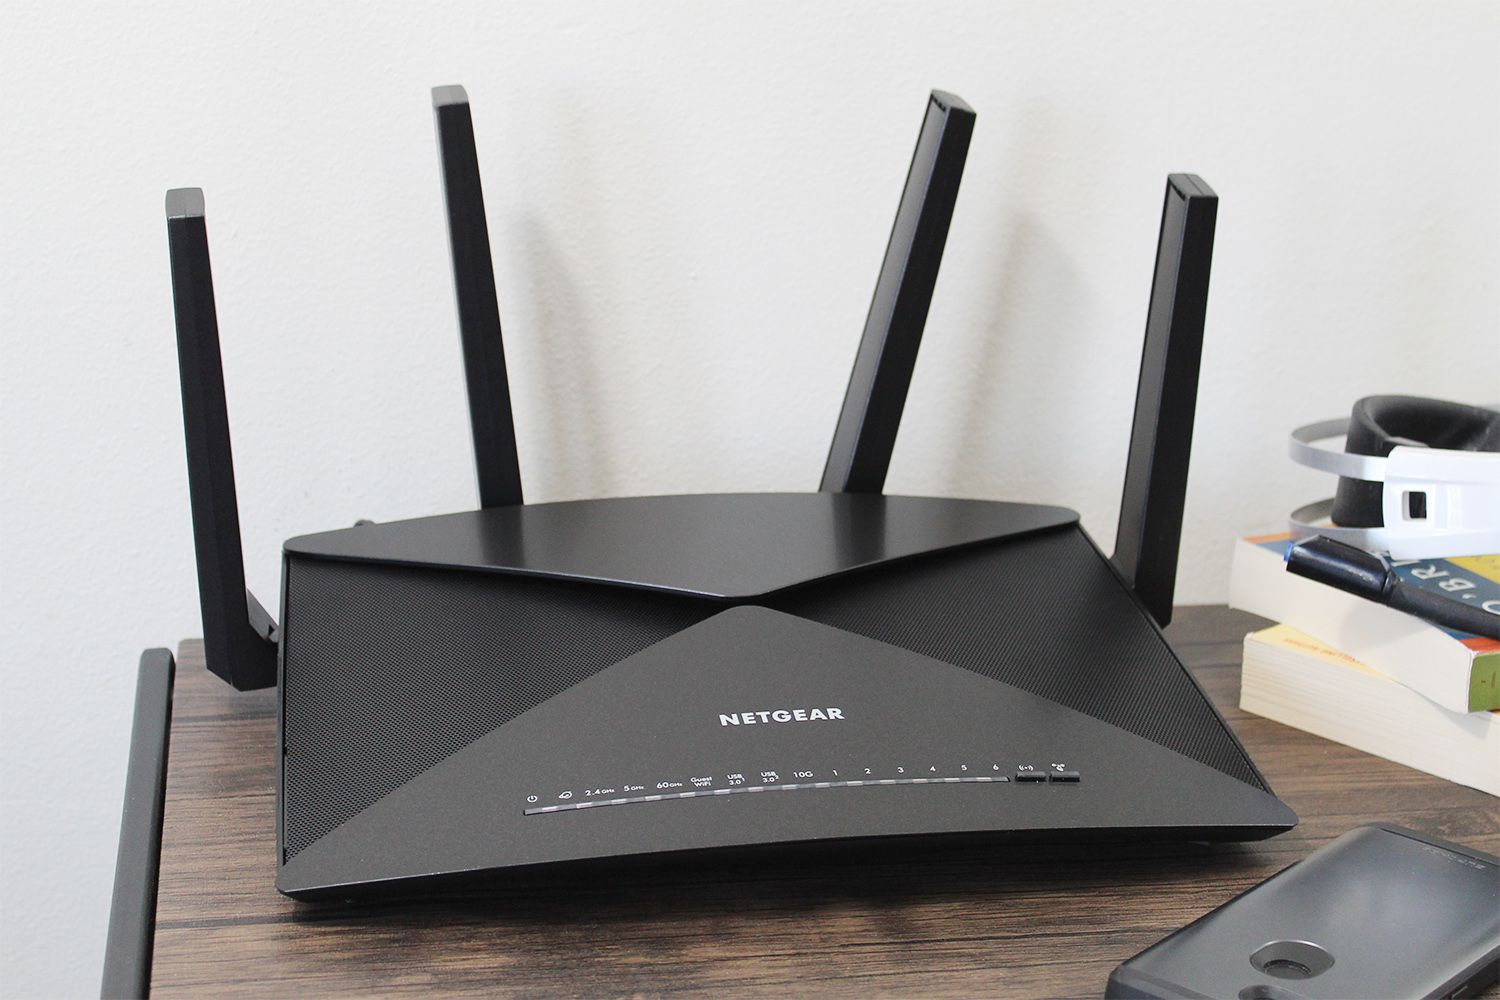
Here comes the time to prepare the router. Get it out of the box along with the Ethernet cable, supply cable, and antennas. Run a physical inspection to know if there is any damage. In case there is physical damage, you should either get it repaired or replace the router.
Furthermore, plugin the router to the power socket. Wait for the power LEDs to stop blinking. Once everything is settled, you need to prepare to connect the router to the modem.
Connect Router to Modem
People usually connect the router to the modem wirelessly. Even though it is one of the most used methods. However, there are numerous issues with that. A little interference could hamper the Netgear Nighthawk router login process.
To ensure that does not happen, you need to connect the router to the modem by using an Ethernet cable. Use the one that you got with the Netgear router. Make sure the cable is tightly connected to the ports of both devices.
Placement of Router
The placement of the router is extremely crucial. One wrong place and your hard work will be in vain. That is why you must know which will be an obstruction in the router’s WiFi signals. Get rid of things like electrical devices, mirrors, metal objects, water sources, and much more surrounding the router.
Moreover, you should never place the Netgear router close to thick walls. Not just that, you should always choose a central location of your house to have the best router performance.
Open Web Browser
After you have set up the hardware, open a web browser on your computer and access the official router login page. Make sure the web browser is updated. Apart from that, you need to ensure that the web browser’s cookies and the cache are cleared.
Compatibility is one of the major concerns while using a web browser with the fastest and cheapest internet. Therefore, the web browser that you use should be compatible with the operating system of your computer.
Enter Login Details
A login page appears once you press the Enter key after filling in the web address information. You need to enter the login details to complete the Netgear Nighthawk router login process. After entering the login details, you get access to the router dashboard.
Wrap Up
In case you don’t have a computer, you can download the Nighthawk app on your mobile and complete the Netgear router login process. After the login, you get stronger WiFi signals throughout your house without any hassle.